Let’s be honest—there’s something downright irresistible about perfectly baked chicken tenders. Crispy on the outside, juicy on the inside, and oh-so-simple to make! But here’s the catch: cooking them just right can feel like a bit of an art. Bake them too long, and you’ve got yourself a tray of rubbery bites. Too little time, and they’re… well, let’s just say you’ll be sticking with salad. But worry not! In this guide, we’ll take you through everything you need to know to nail the timing, seasoning, and tips to keep those tenders juicy every time. So, if you’re ready to master the secrets of oven-baked chicken tenders and make them tender-loving, keep reading! We’ve got all the secrets to transform your tenders from “meh” to “WOW!”
Ingredients and Kitchen Tools
Ready to whip up the tastiest chicken tenders of your life? Let’s start by gathering the essentials—because every mouthwatering meal begins with the right ingredients and tools. Here’s your go-to list to make chicken tenders that are golden, crispy, and perfectly juicy (get ready for compliments all around)!
Essential Ingredients for Flavorful Chicken Tenders
- Chicken tenders : The true stars of this show! Go for fresh or well-defrosted tenders for the best texture and taste.
- Breadcrumbs or panko: These are the heroes of crunch! Panko will give you a lighter, airier crunch, while regular breadcrumbs will create a more even coating.
- Eggs : Acting as the “glue,” eggs help the breadcrumbs cling to the tenders and add a little richness to every bite.
- Olive oil or cooking spray: A quick brush or spritz is all you need to get that perfect, golden crust without excess oil.
Flavorful Extras (Optional but Totally Worth It!)
- Seasonings : Don’t be shy with the flavor! Basics like salt and pepper are a must, but add a dash of garlic powder, smoked paprika, or cayenne if you’re craving a little kick. These seasonings give your tenders an extra punch of flavor that’s anything but bland.
- Parmesan cheese: Want an irresistibly savory twist? A sprinkle of grated Parmesan in the breadcrumbs makes each bite cheesy and just a little addictive!
- Fresh herbs: Chopped parsley, basil, or a sprinkle of thyme will add a touch of freshness and make your tenders feel restaurant-worthy.
Kitchen Tools You’ll Want on Hand
- Baking sheet with a wire rack : A game-changer! By baking the tenders on a wire rack, you ensure that heat circulates evenly around each piece, giving you that crispiness all around without any sogginess on the bottom.
- Mixing bowls: One for your egg wash, one for your breadcrumbs—it keeps everything neat and makes coating a breeze.
- Tongs: No more messy fingers! Tongs help you dip, coat, and flip the tenders easily, saving you from breadcrumb-covered hands.
- Meat thermometer: To make sure you get perfectly cooked tenders every time, a quick check with a meat thermometer (aim for 165°F) ensures they’re done but never dry.
Gather up these ingredients and tools, and you’re on your way to chicken tenders so tasty you’ll wonder if you should’ve made a double batch! Once you’ve got everything prepped, get ready to turn simple ingredients into pure magic in the oven.
Step-By-Step Guide to Perfectly Baked Chicken Tenders
Let’s get down to business! The secret to truly great chicken tenders is in the prep, the right cooking techniques, and a few simple tricks for that juicy, crispy finish. Follow this step-by-step guide to make baked chicken tenders that are deliciously golden on the outside and tender on the inside.
Preparation and Prepping Chicken Tenders
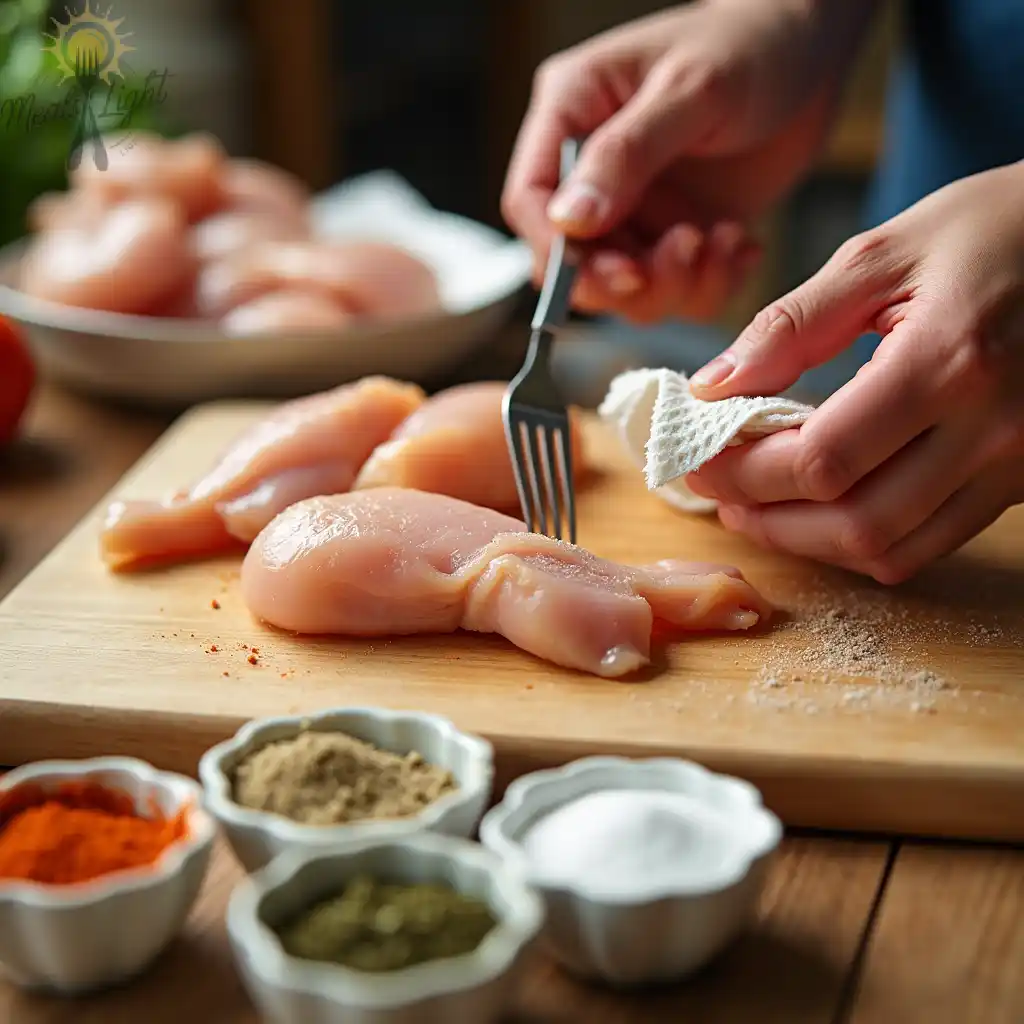
- Trim and Tame the Tendons
Chicken tenders often come with a small, white tendon that can be chewy if left in. To remove it easily, grab the end of the tendon with a paper towel and gently pull while holding the tender down with a fork. This little trick makes for a smoother bite and better texture!
- Seasoning Tips for Maximum Flavor
Once your tenders are trimmed, it’s time to season. Start with a sprinkle of salt and pepper, then add your favorite flavors like garlic powder, paprika, or Italian herbs. For a bolder taste, let the seasoned tenders sit for 10 minutes before coating them in breadcrumbs. This lets the spices sink in, creating layers of flavor in every bite!

How to Make Healthier Baked Chicken Tenders
- Swap for Whole Wheat Breadcrumbs
Want a wholesome twist? Try using whole wheat breadcrumbs or crushed whole-grain crackers for the coating. It adds a boost of fiber and a nuttier taste that pairs perfectly with the chicken’s natural flavors.

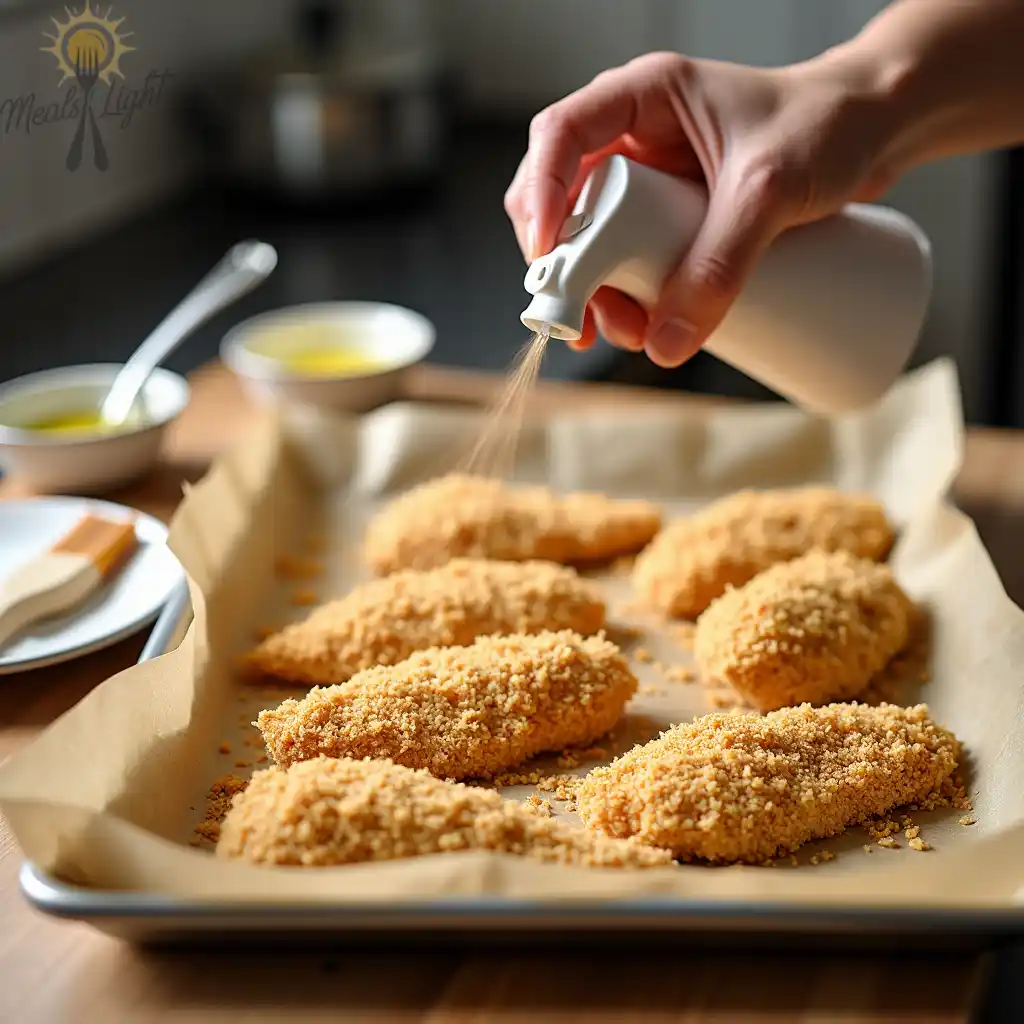
- Bake Without the Extra Oil
Instead of deep-frying or over-bathing in oil, use a light spritz of cooking spray or a brush of olive oil on the tenders before baking. This keeps them moist without the excess fat, giving you that crave-worthy crunch without a guilt trip.
Cooking Instructions: How Long to Bake Chicken Tenders
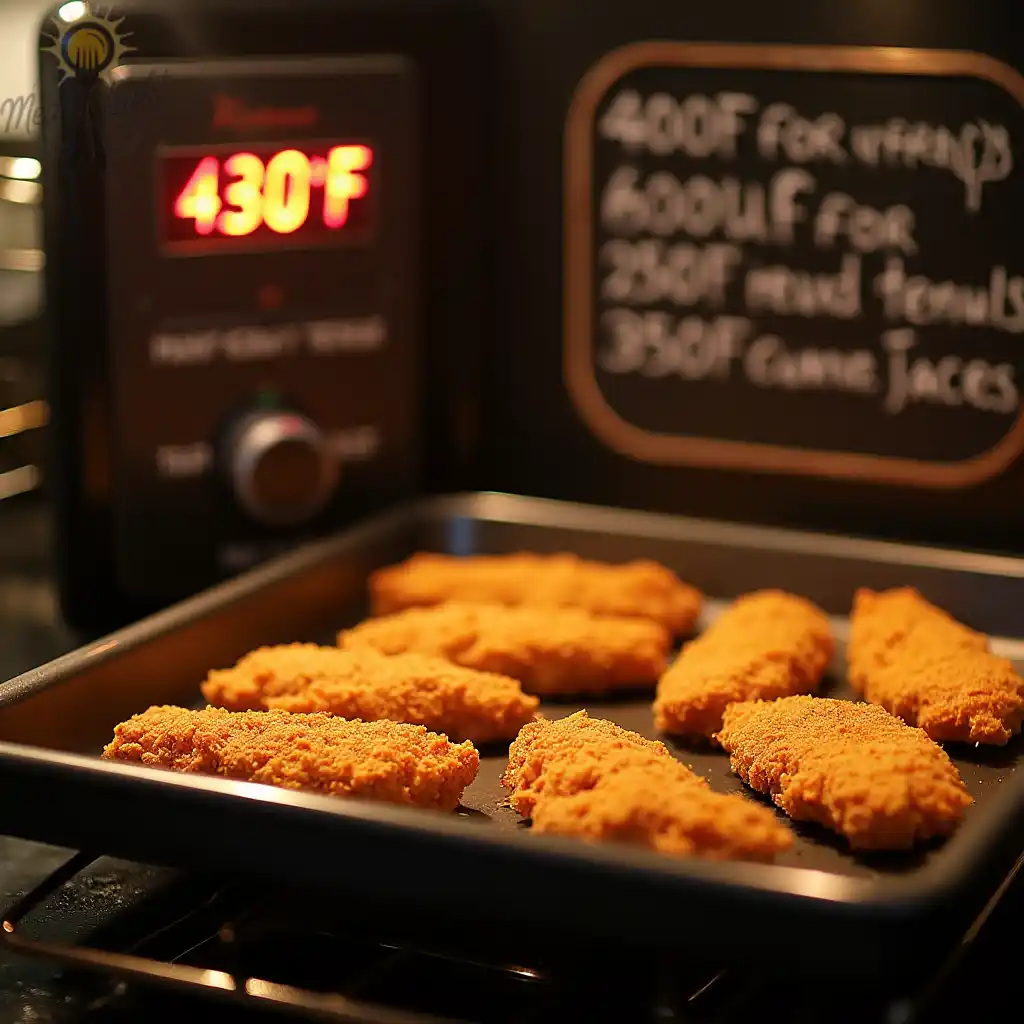
- Set the Perfect Temperature
- At 400°F: Bake for 15-20 minutes for a crispy, golden exterior.
- At 375°F: Bake for 20-25 minutes if you like a slightly softer, more tender result.
- At 350°F: Bake for about 25-30 minutes for an extra-juicy inside with a delicate crunch.
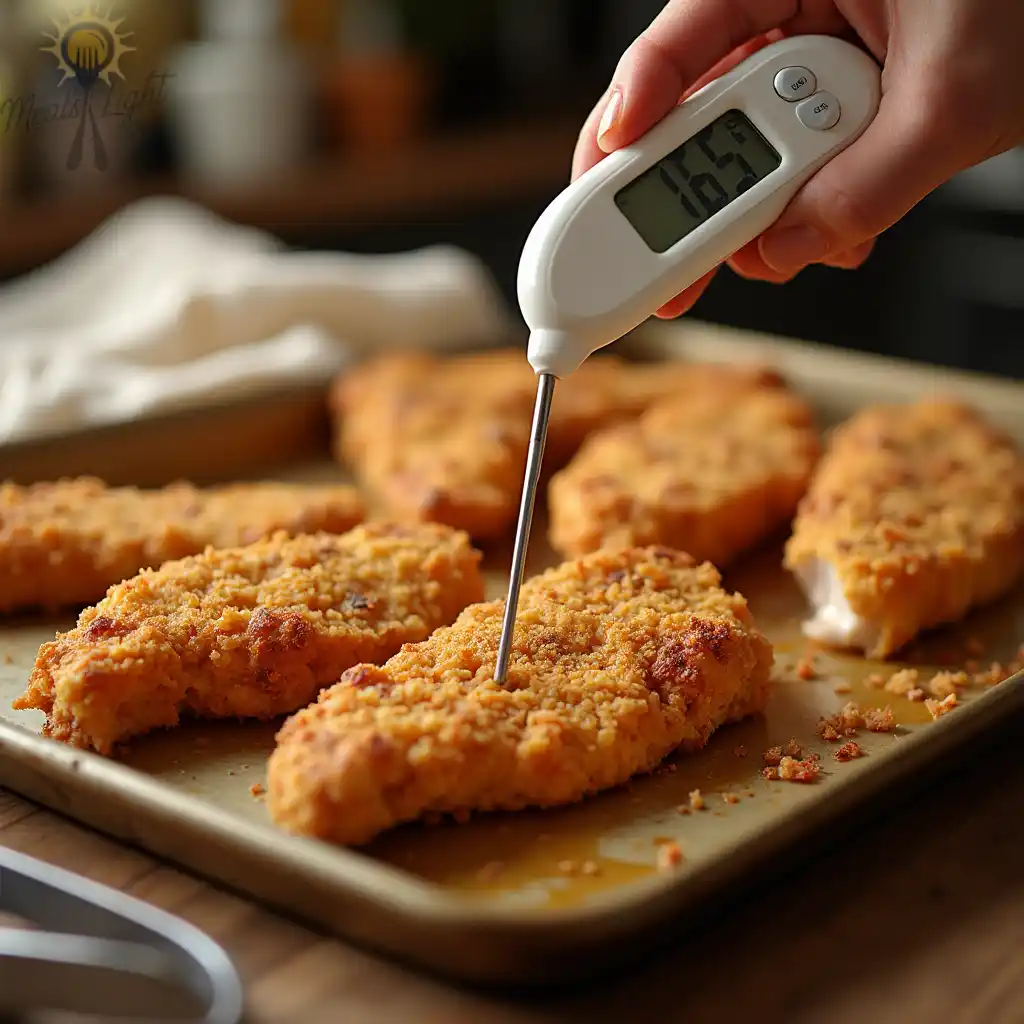
- Check for Doneness
No matter the temperature, make sure the internal temperature reaches 165°F, the magic number for perfectly cooked chicken. Use a meat thermometer, or slice into one piece to see if it’s fully cooked.
Tips for Moist and Tender Baked Chicken
- Quick Brine for Extra Juiciness
For an extra boost of moisture, soak the chicken tenders in a simple brine of salt and water for 15-30 minutes before baking. This trick helps lock in juices and makes each bite ultra-tender!

- The Cover-Then-Crisp Method
If you’re aiming for maximum tenderness, try covering the tenders loosely with foil for the first half of baking. Then, uncover them for the final few minutes to let them crisp up. This two-step method ensures that the tenders stay juicy but still develop that mouthwatering golden crust.
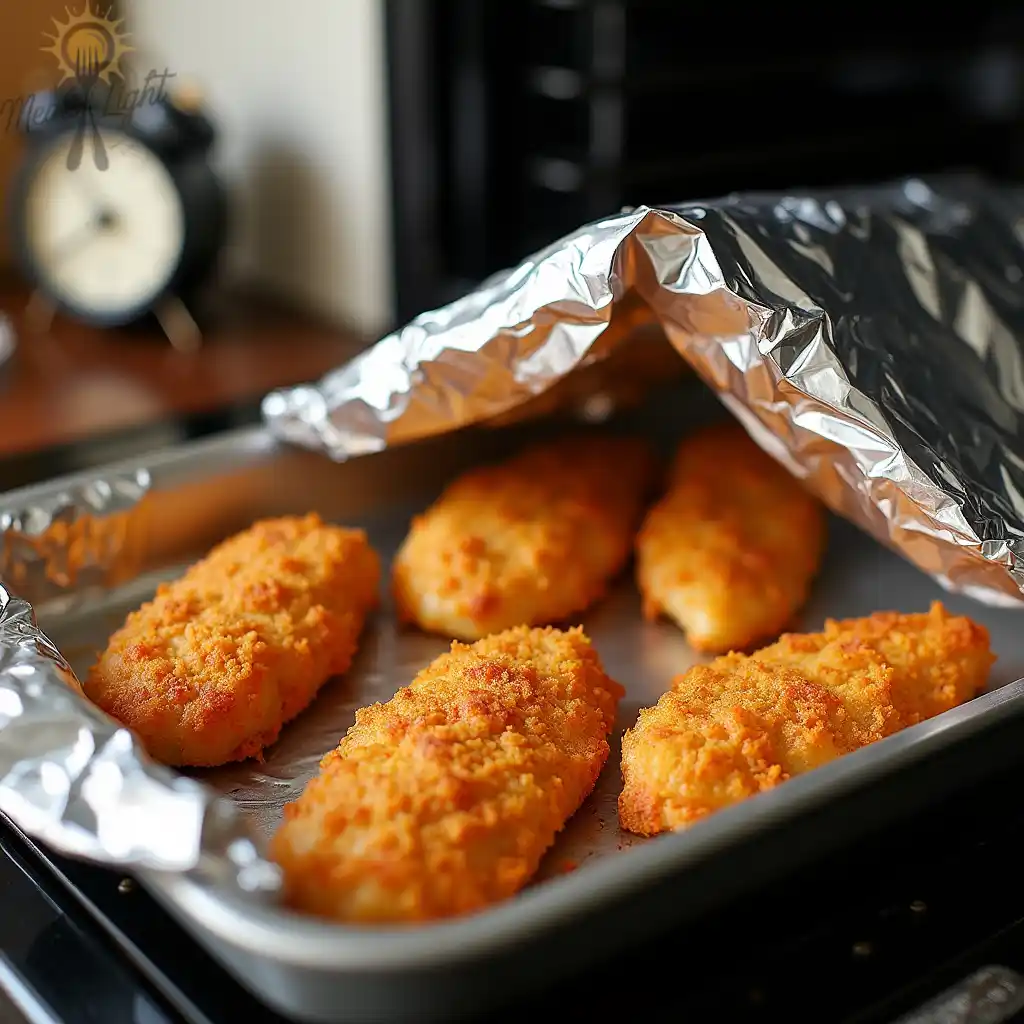
With these steps, you’ll have chicken tenders that are crisp, flavorful, and juicy enough to impress any crowd. Now it’s time to dig in and enjoy the fruits of your perfectly baked labor!
How to Serve Oven-Baked Chicken Tenders
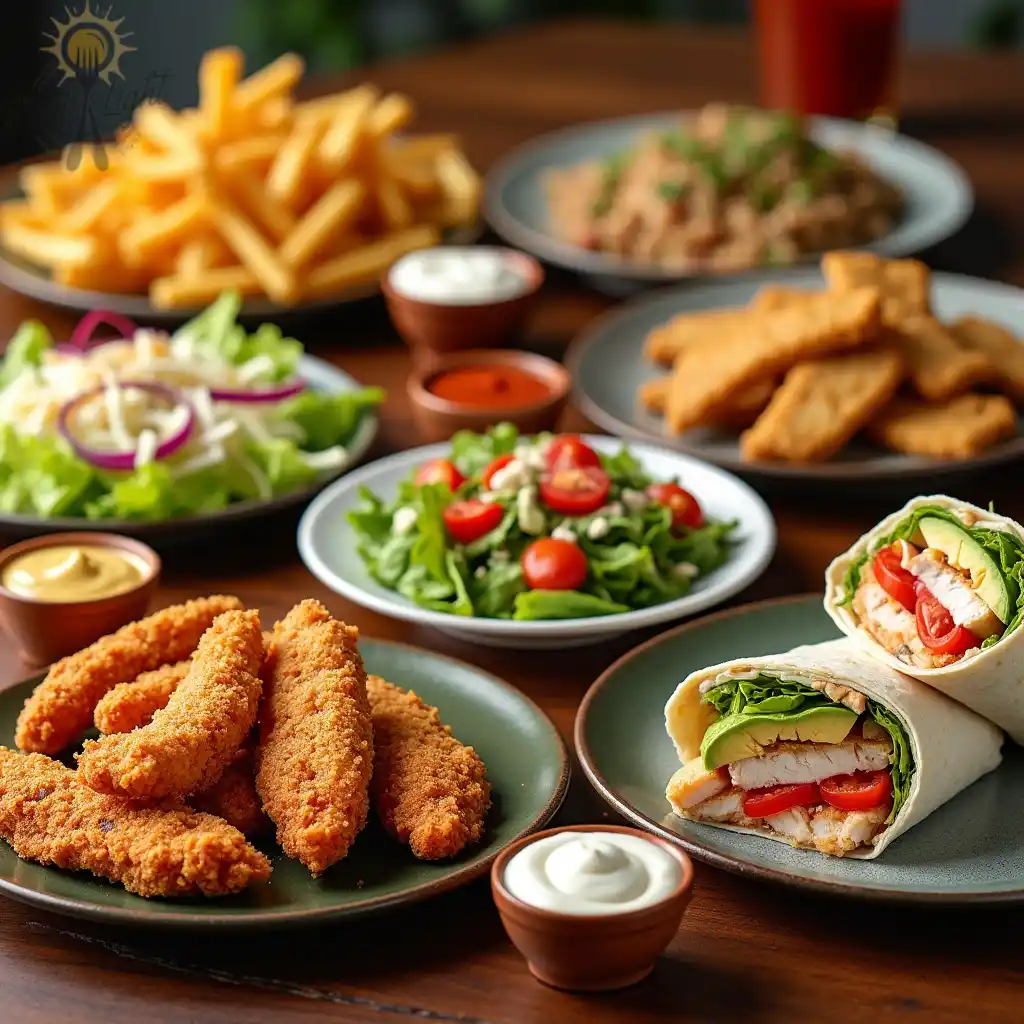
Your oven-baked chicken tenders are golden, crispy, and downright irresistible—so let’s make sure they’re served in style! These tenders are endlessly versatile and pair perfectly with different sides and creative presentations. Here are some ideas to elevate your chicken tender experience:
- Classic Comfort: Serve with a side of golden fries, crunchy coleslaw, and a trio of dips (like honey mustard, BBQ sauce, and ranch) for a classic finger-food feast.
- Light and Fresh: Pair with a fresh salad, like a crisp Caesar or a Mediterranean mix with tomatoes, cucumbers, and feta. It’s a great way to enjoy chicken tenders without feeling too heavy.
- Wrap It Up: Slice the tenders and tuck them into a wrap with lettuce, tomatoes, and a creamy dressing. Add avocado or pickles for a burst of flavor and texture!
- Make It a Bowl: Try a chicken tender grain bowl by layering rice or quinoa, roasted veggies, and fresh herbs. Top with a drizzle of your favorite dressing for a healthy, satisfying meal.

Storing and Reheating Chicken Tenders
Got leftovers? Lucky you! Proper storage and reheating will keep your chicken tenders just as tasty for round two.
How to Properly Store Leftover Chicken Tenders
- Refrigerate: Let your baked chicken tenders cool to room temperature, then store them in an airtight container in the fridge for up to 3 days.
- Freeze for Later: Planning to keep them longer? Freeze them individually on a baking sheet for an hour, then transfer to a freezer-safe bag. This keeps them from sticking together so you can easily grab the amount you need.
Best Methods for Reheating Baked Chicken Tenders
- Oven: Preheat to 350°F and bake for 10-15 minutes. This keeps the tenders crispy on the outside and juicy on the inside.
- Air Fryer: Set them at 350°F for about 5 minutes to bring back the crispy crunch, keeping them juicy and delicious.
- Microwave:For a quick reheating, warm them in 20-second bursts until they’re heated through. To revive the crispiness, give them a quick finish in a hot pan.
Recipe Variations
Want to spice up your baked chicken tenders recipe? With a few tweaks, you can give them a fresh twist to match any flavor craving:
- Zesty Seasoning: Add lemon zest and fresh herbs like rosemary and thyme to your breadcrumb coating for a refreshing, citrusy flavor.
- Spicy Kick: For some heat, mix in cayenne, chili powder, or crushed red pepper with your seasonings. Serve with cooling ranch or blue cheese dressing on the side.
- Herb-Crusted: Blend finely chopped parsley, basil, or thyme with the breadcrumbs for a vibrant, aromatic twist.
- Parmesan Perfection: Mix grated Parmesan with the breadcrumbs to add a cheesy, savory crust that melts into deliciousness as it bakes.
With these options, you’ll never have to stick to plain chicken tenders. Explore new flavors and make each batch feel like a brand-new meal! Just remember to keep an eye on the internal temperature for chicken tenders to ensure they’re perfectly cooked, moist, and safe to enjoy.
Use these tips to achieve crispy baked chicken tenders that are bursting with flavor, whether you’re baking chicken tenders at 350°F or experimenting with a new cooking time for chicken tenders. Each tweak will bring out the best in your tenders and add variety to your meals!
FAQs
What’s the cooking time for chicken tenders at 400°F?
At 400°F, chicken tenders typically cook in about 20-25 minutes, depending on their size. For best results, flip them halfway through to ensure even crispiness. Always check the internal temperature, which should reach 165°F.
How long does it take to bake chicken tenders at 375°F?
When baking at 375°F, chicken tenders will generally take 25-30 minutes to cook through. Be sure to flip them halfway through cooking to achieve that perfect, even golden-brown finish. As always, confirm doneness with a meat thermometer.
How do you know when chicken tenders are fully cooked and ready?
The best way to tell when chicken tenders are done is by checking their internal temperature, which should reach 165°F. The outside should be golden brown and crispy, and the meat should be opaque and juicy. A meat thermometer ensures safe and accurate results.
How long should you bake chicken tenders to reheat them in the oven?
To reheat baked chicken tenders in the oven, preheat your oven to 350°F and bake for 10-15 minutes. Covering them with foil can help keep them moist. Be sure to check that they’ve reached a safe internal temperature of 165°F.
What’s the best way to check if chicken tenders are properly cooked?
The most reliable way to check chicken tenders is by using a meat thermometer, ensuring the internal temperature reaches 165°F. You can also cut into the thickest part of the tender; the meat should be opaque with no pinkness. If the juices run clear, they are also ready.
Do chicken tenders cook more quickly than chicken breasts?
Yes, chicken tenders cook faster than whole chicken breasts due to their smaller size and thinner cut. This makes them perfect for quicker meals while still achieving a juicy, tender texture when cooked properly.
How long do cooked chicken tenders stay good in the fridge?
Cooked chicken tenders will stay fresh in the fridge for 3-4 days if stored in an airtight container. For longer storage, you can freeze them for up to 3 months, maintaining quality and flavor.
Which is the better temperature for baking chicken: 350°F or 400°F?
Both temperatures work well for baking chicken tenders, but 400°F is better if you’re aiming for a crispy texture. 350°F is ideal for more evenly cooked, tender chicken, though it may take a bit longer. The choice depends on your preference for crispness versus tenderness.
Conclusion
In conclusion, baking chicken tenders in the oven is a simple and delicious way to enjoy this classic dish with minimal effort. Whether you’re aiming for crispy perfection at 400°F or a tender, juicy result at 375°F, knowing the right cooking time and techniques will ensure your chicken tenders come out perfectly every time. With helpful tips on seasoning, storing, and reheating, you can enjoy these golden beauties fresh or as leftovers without any hassle. So go ahead, try out this easy baked chicken tenders recipe, and make meal time a breeze—your taste buds will thank you!


2 thoughts on “How Long to Cook Chicken Tenders in the Oven”