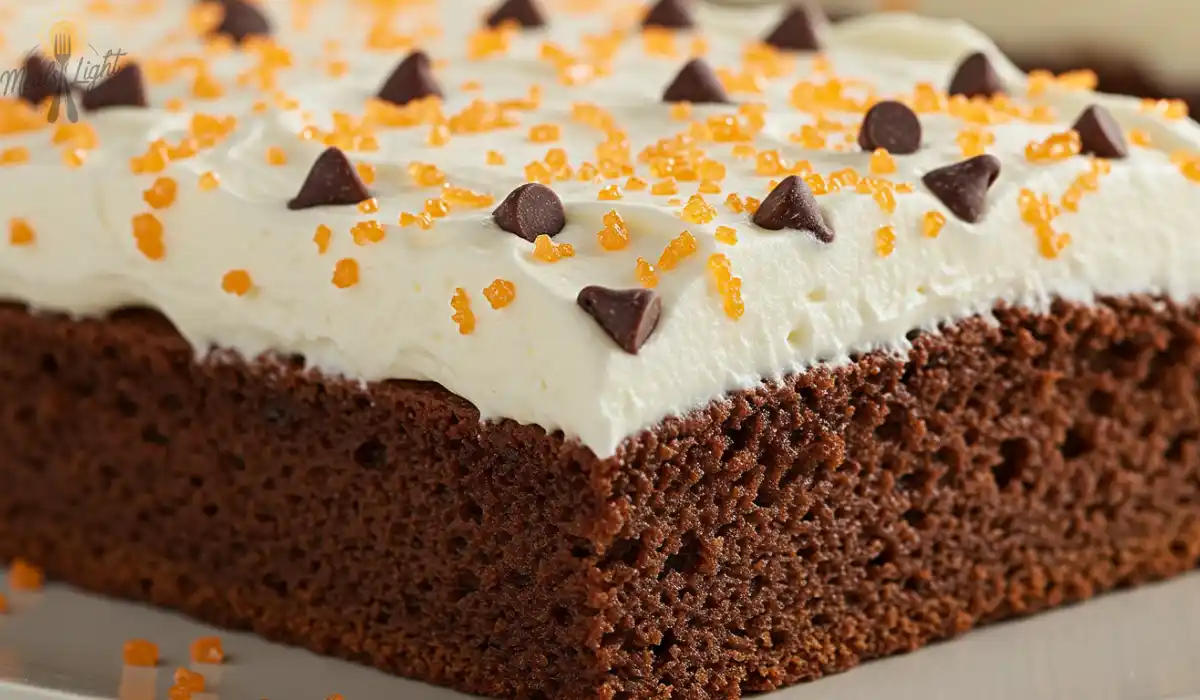
Imagine a cake so moist, tangy, and irresistibly delicious that it feels like a warm hug with every bite. Welcome to the world of kefir sheet cake! This delightful dessert not only satisfies your sweet tooth but also sneaks in a touch of probiotic goodness, thanks to the magic of kefir—a fermented dairy marvel that’s been cherished for centuries.
Hailing from Eastern European kitchens, where “kefírová buchta” graces family tables, this cake is a testament to how simple ingredients can create something extraordinary. Its secret? Kefir’s natural tanginess and moisture give the cake a texture so dreamy, you’ll wonder why you’ve been baking without it all this time.
Stick around, and we’ll guide you step-by-step to baking the perfect kefir sheet cake. From picking the right ingredients to nailing that flawless golden crust, we’ve got tips, tricks, and a sprinkle of history to make your baking adventure unforgettable. Trust us, your dessert game is about to level up!
What Is Kefir Sheet Cake and Why Should You Try It?
Kefir sheet cake is a moist and fluffy dessert made with kefir, a tangy, probiotic-rich fermented milk. The kefir adds a unique tart flavor and keeps the cake tender, making it a delicious and healthier alternative to traditional sheet cakes. You should try it for its incredible texture, versatile flavor options, and the added benefits of baking with a natural ingredient like kefir!
Ingredients for the Perfect Kefir Sheet Cake
Ready to bake a cake that’s the perfect blend of tangy, moist, and downright delightful? Here’s what you’ll need to gather before we dive into the magic of mixing and baking. Don’t worry, substitutions and tweaks are totally welcome—we’ve got your back!
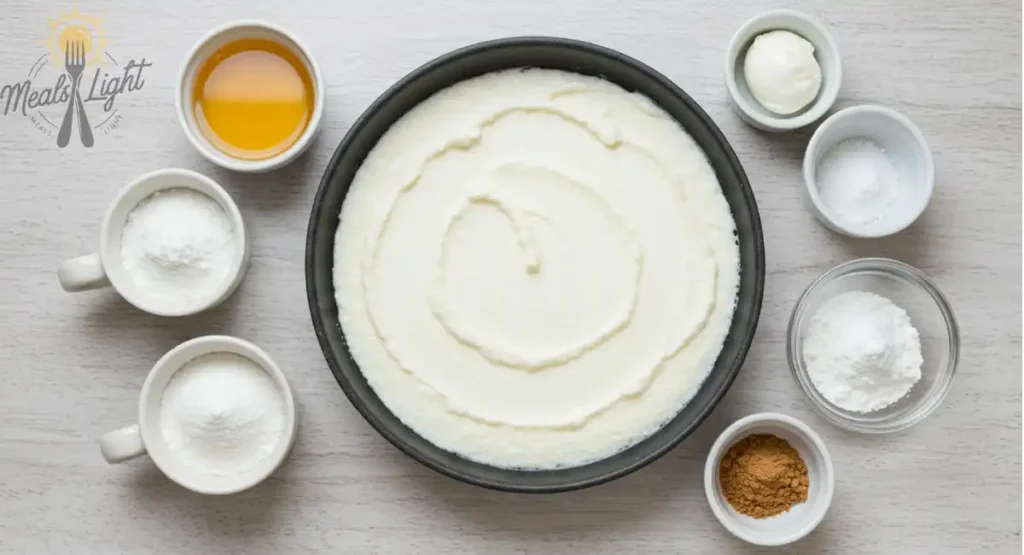
The Essentials:
- 1 cup of kefir – The star of the show! Its tangy charm makes all the difference. No kefir? No problem—plain yogurt or buttermilk works as a backup.
- 2 cups of all-purpose flour – The foundation of our fluffy masterpiece. Want to go gluten-free? Swap it with a 1:1 gluten-free baking blend.
- 1 cup of sugar – Sweeten things up! Prefer less sugar? Coconut sugar or honey are great alternatives.
- 2 large eggs – For structure and richness. If you’re vegan, try flax eggs or unsweetened applesauce instead.
- ½ cup of melted butter – Adds that irresistible buttery flavor. Vegetable oil or coconut oil also work if you’re feeling adventurous.
- 1 teaspoon of baking soda – The secret to a light and airy texture.
- 1 teaspoon of vanilla extract – Because every cake deserves a little extra love.
Optional Add-Ins (Go Wild!):
- Cocoa powder – For a chocolate twist.
- Chopped nuts or dried fruit – To give your cake a crunchy or chewy surprise.
- Cinnamon or nutmeg – A pinch of spice for a cozy vibe.
Pro Tip: Keep It Flexible
Feel free to experiment! This recipe is as forgiving as your best friend, so don’t stress if you need to make a few swaps. Just remember, kefir is the hero here—its probiotics and tangy flair are non-negotiable for that perfect texture and taste.
Now that your ingredients are ready, let’s get baking!
Why Kefir Makes This Cake Special
Kefir isn’t just a trendy ingredient; it’s the MVP of your baking game! Here’s why it takes your sheet cake from good to utterly amazing:
Probiotic Powerhouse
- Kefir is packed with probiotics—those tiny, gut-friendly bacteria that keep your digestion happy and healthy.
- Adding kefir to your cake means you’re sneaking in a dose of health benefits without even trying. Who says dessert can’t be good for you?
Tangy Flavor Boost
- The natural tanginess of kefir adds a subtle zing to the cake, perfectly balancing its sweetness.
- It’s like a secret ingredient that makes every bite taste more complex and satisfying.
Moisture and Texture Perfection
- Kefir’s creamy consistency locks in moisture, giving your cake that melt-in-your-mouth softness.
- It also reacts beautifully with baking soda, creating a light and fluffy texture that’s hard to beat.
So, the next time someone asks why your cake tastes so amazing, just smile and say, “It’s the kefir magic!”
Essential Tools You’ll Need
Before you roll up your sleeves and dive into the batter, let’s make sure your kitchen is armed and ready. No need for fancy gadgets here—just the basics to bake up perfection!
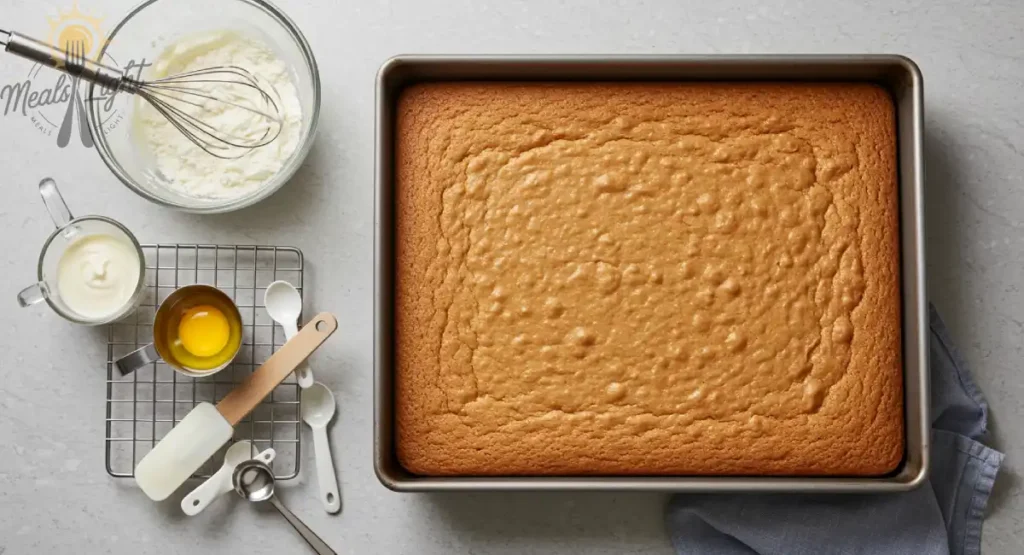
Your Cake-Making Arsenal:
- Sheet Pan – The stage where all the magic happens. A standard 9×13-inch pan works best for this recipe.
- Mixing Bowls (at least two) – One for dry ingredients, one for wet, and maybe an extra just in case you like to keep things neat.
- Whisk or Electric Mixer – For blending your ingredients into a smooth, lump-free batter. A whisk works fine, but an electric mixer makes life easier.
- Measuring Cups and Spoons – Because baking is science, and accuracy is everything. (Yes, eyeballing can lead to chaos!)
- Spatula – To scrape every last bit of that glorious batter into the pan. Waste not, want not!
- Cooling Rack – To help your cake cool evenly and avoid soggy bottoms.
Optional (But Handy!) Add-Ons:
- Parchment Paper – Simplifies cake removal and minimizes cleanup.
- Cake Tester (or a toothpick) – To check if your cake is baked to perfection.
- Offset Spatula – If you’re planning to frost your cake like a pro.
Got your tools ready? Great! It’s time to turn your kitchen into a cake-baking playground.
Step-by-Step Instructions for Making Kefir Sheet Cake
Grab your apron and let’s get baking! Follow these simple steps, and soon your kitchen will be filled with the sweet aroma of kefir-fueled magic.
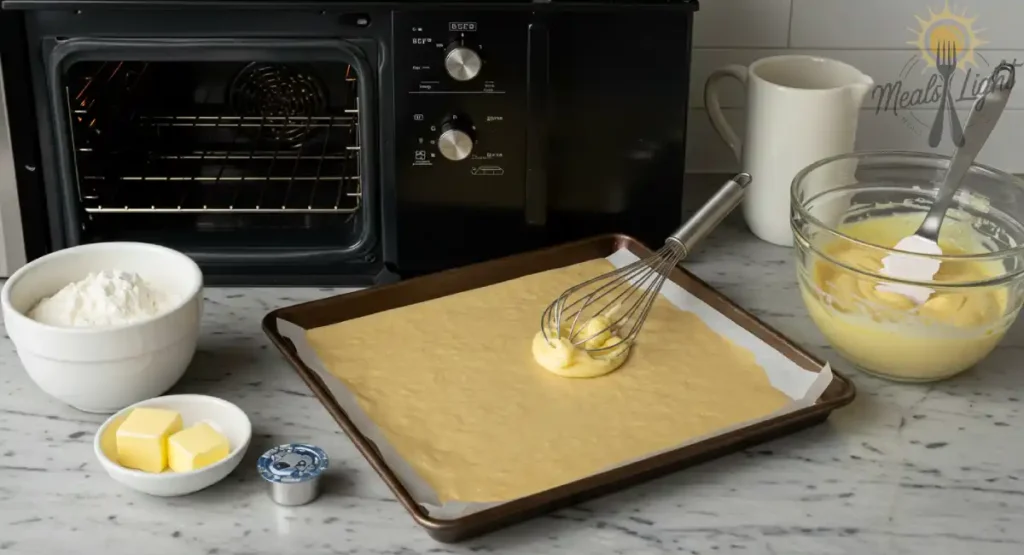
Preparing Your Ingredients and Tools
- Preheat the Oven – Set your oven to 350°F (175°C). This gives it time to heat up while you work your magic.
- Grease the Pan – Use butter, oil, or non-stick spray to coat your sheet pan. If you’re feeling extra cautious, line it with parchment paper too.
- Measure Everything – Baking is a science, so measure your ingredients carefully. No “pinches” or “dashes” here—precise measurements are your best friend!
- Gather Your Tools – Make sure your mixing bowls, whisk, and spatula are within arm’s reach. There’s nothing worse than hunting for tools mid-batter.
Mixing the Batter
- Combine Dry Ingredients – In a large bowl, whisk together your flour, sugar, and baking soda. This helps distribute the ingredients evenly.
- Mix Wet Ingredients – In another bowl, stir together kefir, eggs, melted butter, and vanilla extract until smooth. (Bonus points if you hum your favorite tune while doing it!)
- Combine the Ingredients – Slowly incorporate the dry ingredients into the wet ingredients, mixing only until just combined. Avoid overmixing—nobody wants a dense cake!
Baking the Cake
- Pour the Batter – Scrape every last bit of batter into your prepared pan, spreading it out evenly with a spatula.
- Bake to Perfection – Place the pan in the oven and bake for 25-30 minutes. Start checking at about 25 minutes by inserting a toothpick into the center. If it comes out clean, you’re golden!
- Resist the Urge to Peek – Opening the oven door too often can mess with the temperature. Be patient—it’s worth it.
Cooling and Serving
- Cool It Down – Let the cake cool in the pan for 10 minutes, then transfer it to a cooling rack to prevent a soggy bottom.
- Serve and Enjoy – Slice it up and enjoy as-is, or dress it up with frosting, powdered sugar, or a dollop of whipped cream. Pair it with a cup of tea or coffee for ultimate bliss.
Congratulations—you just baked a kefir sheet cake! Now, share the love and maybe (just maybe) save a slice for yourself.
Flavor Variations and Add-Ins
One of the best things about making a kefir sheet cake is how customizable it is! Whether you’re a chocolate lover, a fruit enthusiast, or a spice aficionado, this recipe has endless possibilities to suit your cravings. Here are some fun twists to make your kefir cake recipe truly unique:
- Chocolate Lovers Unite: Add cocoa powder to the batter for a rich kefir chocolate cake or stir in chocolate chips for gooey bursts of sweetness. Want something more exotic? Try a chocolate chai kefir cake by blending in chai spices like cardamom, cinnamon, and ginger.
- Fruit-Filled Delight: Toss in fresh or dried fruits like blueberries, raspberries, or chopped dates to give your cake a fruity flair.
- Nutty and Crunchy: Walnuts, almonds, or pecans can add texture and depth to your cake.
- Spice It Up: Experiment with cinnamon, nutmeg, or even a pinch of cayenne for a hint of warmth and spice.
- Natural Sweeteners: Swap out white sugar for honey, maple syrup, or coconut sugar to make it a healthy kefir cake option.
The beauty of kefir baking recipes is that they’re forgiving and versatile—so go ahead and experiment!
Tips for Perfecting Your Kefir Sheet Cake
Baking the perfect kefir sheet cake is part art, part science. Here’s how to dodge common pitfalls and ensure your cake turns out flawlessly every time:
- Avoid Common Mistakes:
- Overmixing the batter may result in a dense cake. Mix just until combined!
- Too much heat? Watch the oven temperature carefully to prevent a dry or burnt cake.
- Ensure Even Baking:
- Spread the batter evenly in the pan to avoid uneven rising.
- Turn the pan halfway through baking to ensure even results.
- Nail the Texture and Consistency:
- Wondering “why is my homemade kefir separating?” It might be too warm or left out too long. Always use fresh kefir for the best results.
- If your cake is too dry, check your measurements—especially for flour. Precise scooping matters!
Perfecting easy kefir sheet cake recipes is all about practice and paying attention to details.
Health Benefits of Baking with Kefir
Baking a kefir sheet cake isn’t just a treat for your taste buds—it’s good for your gut, too! Here’s why you should feel great about this dessert:
- Probiotic Boost: Kefir is packed with beneficial bacteria that support digestion and gut health.
- Nutritional Advantages: Rich in protein, calcium, and B vitamins, kefir adds a healthful touch to your dessert.
- Better Than Buttermilk: Unlike buttermilk, kefir offers probiotic goodness with a tangy flavor that takes your cake to the next level.
Whether you’re baking a kefir chocolate cake recipe or a kefir cake gluten-free version, you’re giving your body a little extra love.
Serving Suggestions for Kefir Sheet Cake
Once your kefir cake masterpiece is ready, the fun doesn’t stop—how you serve it can make all the difference!
- Perfect Pairings: Serve your cake with a cup of hot coffee, chai tea, or even a creamy kefir shake for a flavor-packed experience.
- Frost It Up: Add a cream cheese frosting, a drizzle of honey glaze, or a dusting of powdered sugar for extra pizzazz.
- Keep It Fresh: Store your kefir cakes in an airtight container at room temperature for up to three days or in the fridge for longer.
- Reheat Like a Pro: Warm slices in the microwave for 10-15 seconds to restore that fresh-out-of-the-oven taste.
Whether it’s a simple slice or a fully frosted kefir sheep milk cake extravaganza, this dessert is bound to steal the show.
Baking a kefir sheet cake isn’t just about following a recipe—it’s about creating a dessert that’s as versatile, delicious, and delightful as you are. Happy baking!
Frequently Asked Questions About Kefir Sheet Cake
How does kefir enhance baked goods?
Kefir adds a subtle tanginess to baked goods, enhancing their flavor profile. Its creamy texture locks in moisture, ensuring a soft and tender crumb. Additionally, kefir’s acidity reacts with baking soda, creating a light and airy texture.
Is kefir a good substitute for buttermilk in cakes?
Yes, kefir is an excellent substitute for buttermilk in cakes due to its similar tangy flavor and acidity. It works seamlessly in recipes, ensuring the same light and fluffy texture. Simply use it in equal quantities as a 1:1 replacement for buttermilk.
What’s the ideal baking time for a cake?
The ideal baking time for a cake depends on the recipe, pan size, and oven temperature. Generally, most cakes bake at 350°F (175°C) for 25-35 minutes. Always check doneness by inserting a toothpick into the center—if it comes out clean, the cake is ready.
What causes a cake to collapse in the center?
A cake may sink in the middle due to underbaking, overmixing the batter, or opening the oven door too soon. These actions disrupt the cake’s structure or cause uneven heat distribution. Ensure proper baking techniques and follow the recipe precisely to avoid this issue.
What’s the recommended bake time for a 9×13 glass pancake?
Yes, kefir is an excellent substitute for buttermilk in cakes due to its similar tangy flavor and acidity. It works seamlessly in recipes, ensuring the same light and fluffy texture. Simply use it in equal quantities as a 1:1 replacement for buttermilk.
Conclusion: The Perfect Cake for Every Occasion
And there you have it—the ultimate kefir sheet cake recipe, ready to become your go-to dessert for every celebration, cozy gathering, or just-because treat! With its irresistible tangy flavor, moist texture, and endless customization options, this cake truly hits all the sweet spots.
Don’t be afraid to make it your own—try out new flavors, swap ingredients, or even turn it into kefir cupcakes. Baking is an adventure, and each attempt makes you more confident and creative.
Once you’ve crafted your masterpiece, share it with friends and family and soak in the well-deserved compliments. After all, a homemade easy kefir sheet cake is more than just a dessert—it’s a labor of love. So preheat that oven, grab your mixing bowls, and let the baking magic begin! Happy baking!
Print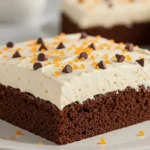
How to Make a Perfect Kefir Sheet Cake:
- Total Time: 50 minutes
- Yield: 12 servings 1x
Description
A moist, tangy, and delicious kefir sheet cake that’s easy to make and perfect for any occasion. This guide includes simple step-by-step instructions, flavor variations, and expert tips to ensure your cake turns out perfect every time!
Ingredients
- 2 cups all-purpose flour (or gluten-free alternative)
- 1 teaspoon baking soda
- 1/2 teaspoon salt
- 1 cup granulated sugar
- 1/2 cup unsalted butter, melted
- 1 cup kefir (or substitute with yogurt or buttermilk)
- 2 large eggs
- 1 teaspoon vanilla extract
- Optional add-ins: 1/2 cup chocolate chips, nuts, or fresh fruit
Instructions
- Preheat your oven to 350°F (175°C) and grease a 9×13-inch pan.
- In a mixing bowl, whisk together flour, baking soda, and salt.
- In a separate bowl, mix sugar, melted butter, kefir, eggs, and vanilla until smooth.
- Gradually combine the wet and dry ingredients, stirring until just incorporated.
- Pour the batter into the prepared pan and smooth the top.
- Bake for 30-35 minutes, or until a toothpick inserted into the center comes out clean.
- Allow the cake to cool completely before serving or adding toppings.
Notes
- For a kefir chocolate cake, add 1/4 cup cocoa powder to the dry ingredients.
- For a healthy kefir cake, substitute coconut sugar or honey for granulated sugar.
- Store leftovers in an airtight container at room temperature for up to 3 days or refrigerate for up to a week.
- Prep Time: 15 minutes
- Cook Time: 35 minutes
- Category: Recipes
- Cuisine: American
Keywords: Kefir Sheet Cake

